Monday, February 23, 2015

Two Bead Making/Teaching Weekends


Uber Crafty at Stacy's House in North Jersey, Feb 7

Thoughts from teaching at "Uber Crafty"
1. Even if someone has made a bead once or twice before, it is likely a good idea to still go over the basics with them, especially having them go through the motions w/o fire first. I think that might have helped in one instance. One mistake that beginners often make is that they turn the mandrel the wrong way. Sometimes this can be difficult to correct, because they end up forming a habit pretty fast. A way to help fix this might be to ask the student to follow my voice instructions as I walk them through step by step the process of making a bead,  guide the student's hands, or take over the job of applying the glass, so the student can concentrate on winding the mandrel in the correct direction.
2. I find it really nice when other bead makers give me small tools or special kinds of glass to let me try something new. This has a very encouraging effect, and I'd like to see if this is something I can try doing. Perhaps I could let people play with some of my twisted stringers? That might be a nice thing to give out to let people who cannot make them yet have fun with them.

Making Beads at Valentina's House in Delaware, Feb 14


                                    Beads made on Feb 14th.

This beadmaking day was organized by Carowyn to make beads for a necklace that woudl be given to TRM's to use as a gift during their travels to other kingdoms. It was fun to work on a project with others! I'd love to do something like this again.

Sunday, February 15, 2015

Sunday, January 25, 2015

Phoenician Glass Bead Necklace


This necklace is composed of 10 store bought metal beads, and 19 glass beads.

It is heavily based on several Phoenician beads and necklaces I've found on museum websites, such as Corning's Glass Museum, the Metropolitan Museum of Art, and the British Museum, or on Christie's auction website.

Inspiration Bead
Inspiration Face Bead

Inspiration Necklace 1
Inspiration Necklace 2
Inspiration Necklace 3
Inspiration Necklace 4

Note: Some of the museum websites indicate that the necklaces may have been recomposed at a later date, so it is not known if a necklace of this configuration would have been worn. One of the auction websites notes that their necklace contains modern metal beads, while another notes that the metal beads are several centuries newer than the glass beads on the necklace. However, while the necklace configuration may not be able to be documented, the glass beads themselves are easily documented using the first two links above.

Research Note on Face Beads
Face Beads started to be made in the 7th century BC, when according to Glenn Markoe in Phoenicians (p. 156-7), "demon masks, animals, and male and female heads began to appear. It's probably more correct to call these figures pendants, rather than beads, as Markoe notes that they were often found on necklaces as special talismans (perhaps these are another variant of "evil eye" beads, as are the stacked dots beads on the necklace above).  Markoe says that these beads were likely made at multiple workshops along the Phoenician coast, in areas such as Cyprus, the Egyptian Delta, and Carthage. The pendants started small (3cm) but later grew up to 8 cm in height. These beads traveled widely and have been found  throughout the Mediterranean, and in Russian and Europe

Markoe says that these beads were "rod formed," but I think the larger of these beads were more likely to have been core formed. Corning's Glass museum specifically notes that one of these beads was made using this technique. Core forming is a process where small dried balls of clay, dung, and straw were wrapped around a mandrel. The bead was made on that "core" and the core cleaned out once the bead cooled. This results in a hollow bead. It is also easier to make larger beads using core forming, as less glass is required due to the large core.

A previous post of mine on Phoenician beads which includes a reproduction of another variety of Phoenician face beads.

Sunday, January 18, 2015

Early Medieval Irish Glass Beads (& beads imported into Ireland)


Source: An Examination of Glass Beads from Early Medieval Ireland, by Margaret Mannion

Note: This picture is showing my own glass beads that I recreated using information found in the source referenced above. The goal of this project was for me to learn more about early period Irish beads, and to attempt to recreate these beads and understand the bead typology which was developed and created by the author of the above source (updated 10/20/15).

Sunday, January 11, 2015

Viking Necklace

This necklace was made for a friend. She has a viking persona, so she needed a necklace.

My inspiration was the necklace that can be found at this link .

The original colors I wanted were coral and green, which would have more closely matched the necklace above, but the coral effetre 104 COE glass is problematic . It tends to turn grey unless treated a specific way in the flame, something called striking, which I can not do with the torch I have. So we added in yellow and orange instead of the coral, and things got much easier from there on.

This necklaces is mostly made from monochrome beads, just like the example I linked to above. I added in a few different types of polychrome bead designs, and those designs can be documented very easily using Johan Callmer's book "Trade Beads and Bead Trade in Scandinavia."

I tried to keep the organization of the beads on the necklace feeling somewhat random, just like the the viking necklace I used as inspiration. I did this by creating a variety of colors, and shapes in the beads, and also by stringing them onto the necklace in a random pattern.

There are approximately 180 beads in this necklace!

Making this necklace was a useful experience because I had the chance to practice making very simple beads, and it became much easier and faster for me to make these beads over time and after all this practice. I even learned  how to make more than one bead on a mandrel at a time.

Close up view of a few of the beads.

Beads broken out into piles by type


Final Necklace. Glass beads (made by me) with store bought amber beads and an amber Thor's hammer.

The necklace I used as inspiration was not all made from glass. In the future I might try to mix glass beads I make with store bought stone beads to more closely match what was done with some period necklaces.

Tuesday, December 9, 2014

Modern Bead Pendant (with earrings)

This is a modern bead pendant made with black glass. It was pressed into a lozenge shape, and the decoration was made with silvered ivory stringer. 

This bead is an example of something that I have been hearing bead makers say in classes I have attend for the past two years. Basically, they have said that if what you are trying to do does not work, instead of discarding the bead, take the opportunity to play with the bead and see what happens. 

When I applied the silver ivory string at first, I was not happy with the results. So, instead of stopping my work on this bead, I took a rake and feathered the bead in a back and forth swirling pattern. And this is the result!


Edit: 3/15 - Earrings made to match the pendant.


Monday, December 1, 2014

Tokens

A few months ago I was asked to make some glass bead tokens. I was requested to make the tokens reasonably appropriate to the requester's persona. The person I'm making them for has an early Irish persona. Her heraldry is blue and yellow, and her device has several triskels on it.

I was lucky enough to find a PHD thesis which provides a classification and typology of bead from this period.  Looking a the list of beads from the study I found that the spiral beads seemed to evoke the triskels from her heraldry, as they could be made with 3 spirals. With the ok of the requester, I settled on a spiral as the design, and I used the class 8 spiral bead as my inspiration (page 40 in the above source).

The spiral design was also new to me; I had not made many of these before. This meant that making these tokens would be a good opportunity for me to practice. I made 30 beads for this project.

ESTIMATED COSTS
A. Glass Rods= $3
To complete this project I used 3 transparent blue rods & 1 opaque yellow rod. Glass rods can be purchased singly or in bulk for a cheaper price.
---3 cobalt blue transparent glass rods = $1.25 x 3= $3.75
---1 medium yellow special glass rod = $1.55
---1/4 bundles of colbalt blue = $2.95
---1/4 bundle of medium yellow = $3.95

B. One tank of Mapp gas =  $13

C. One half of a small spool of jewelry wire = $1.25

Total Cost = $17.25
Cost Per Bead = .58c.

ESTIMATED TIME
Beads: 10 minutes per bead x 30 bead = 300 minutes = 5 hours
Cleaning: 15 minutes
Attaching brass rings: 2 min x 30 = 1 hour
Note: I annealed the beads, but did not figure that into the above equation, as I put a bunch of my own beads in with these beads.

Total Time = 6 hours, 15 minutes

I had never really timed myself before, or calculated the cost of making a single bead. I now understand why I people who are selling these beads charge several dollars for one bead. While ordinary glass is not expensive, these beads do take time to make!  Gas is also not cheap, although someone using a professional system with larger refillable gas tanks would likely spend less on gas than I did.

MORE ABOUT THE HISTORIC BEADS
The blue and yellow of the requester's heraldry is actually very close/exactly the same as the colors that these beads would have been made in in period. Class 8 beads were made on a dark semi-transparent blue glass with mostly white spirals (though my source says that yellow would occasionally have been used, see page 60). There were 2-3 spirals on each bead ( I did three for the tokens to evoke the triskels from the requester's heraldry). My source said that the spirals were interlinked. However, I could not find a way to interlink all three spirals while applying the design in a continuous line. The pictures I found from the source  I mentioned above (and the supplementary sources I consulted, including museum photos and a book by Margaret Guido) only include images of one side of the bead, making it difficult to see how the entire design was constructed. So, what I ended up doing was I interlinked two spirals, and made a third freestanding spiral.

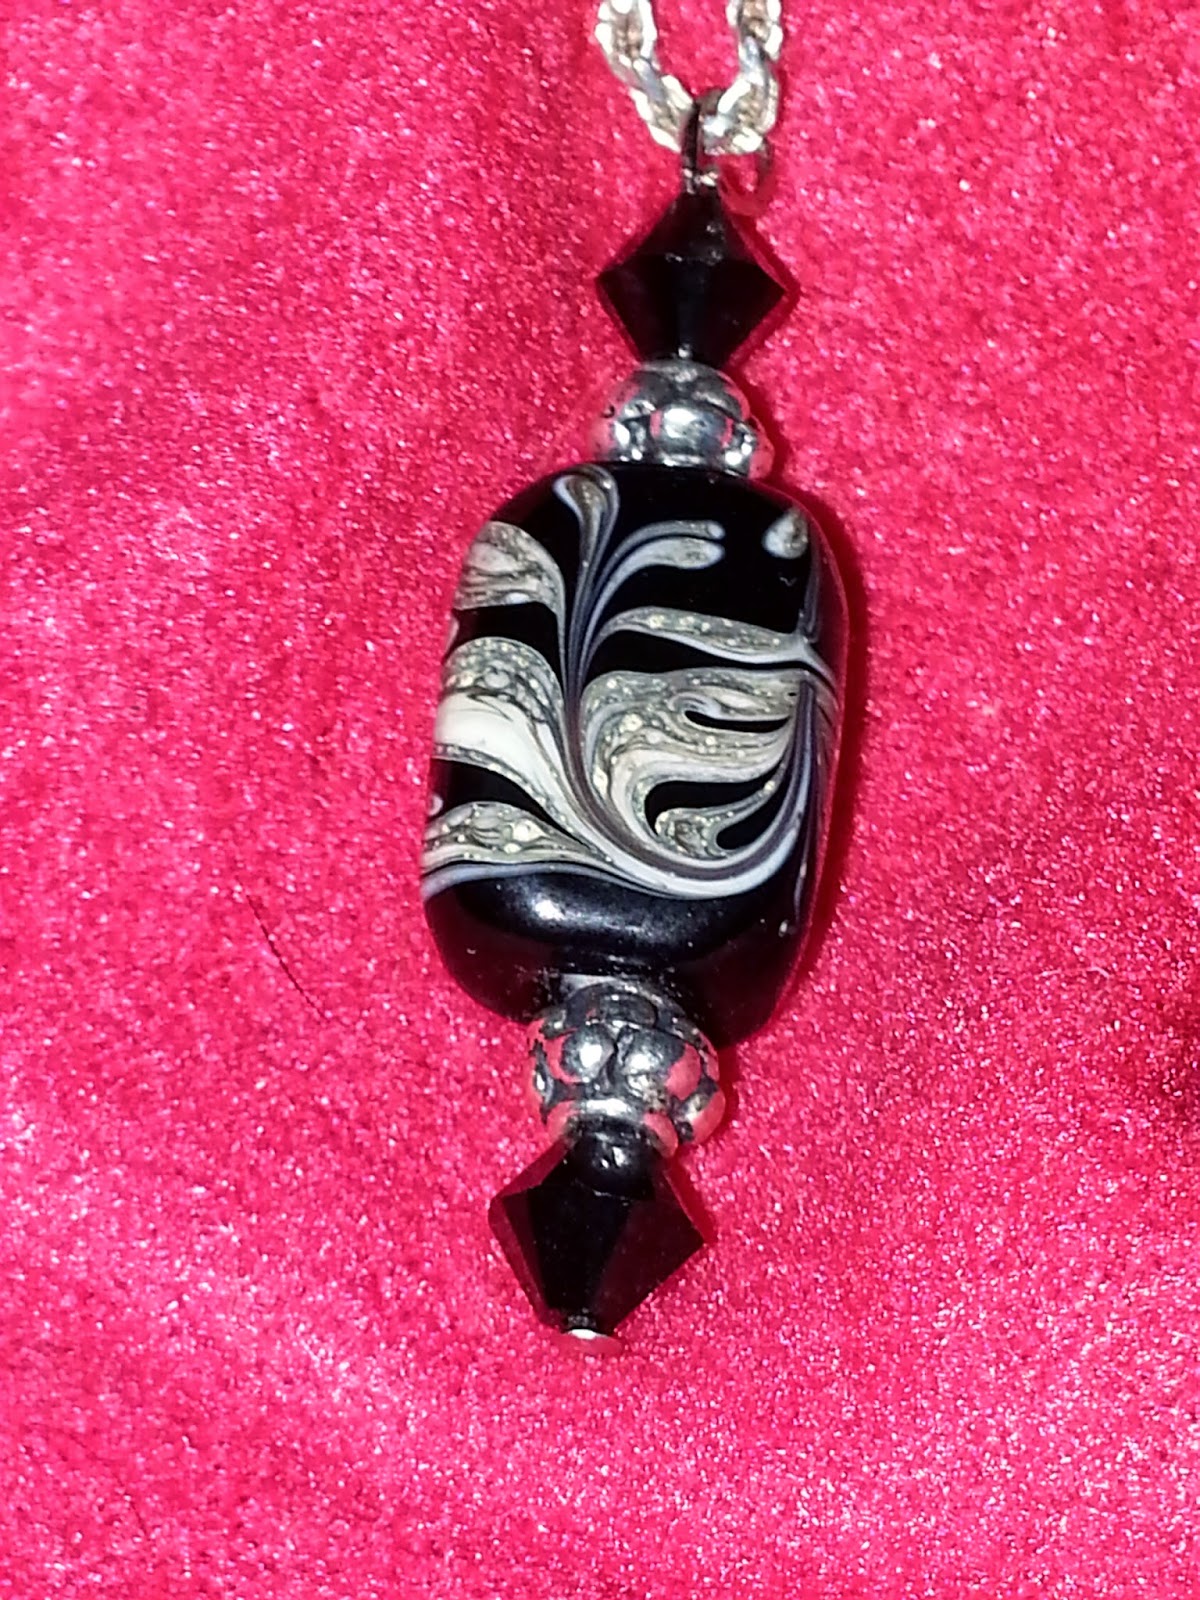
To enhance the tokens, I added a wire wrapped ring (which has been found on other early period extant beads), as I had done when I made a few tokens for myself.